
Connectors
Shopify Connector
Connectors in Bloo
Updated 2026-08-17
Overview
Shopify Connector reads logs/events that have occurred in your Shopify account. Please read what kind of events can be captured by the connector here.
Prerequisites
- Your Shopify URL
- Shopify Access Token with the required permissions
Creating Shopify Access Token with the Required Permissions
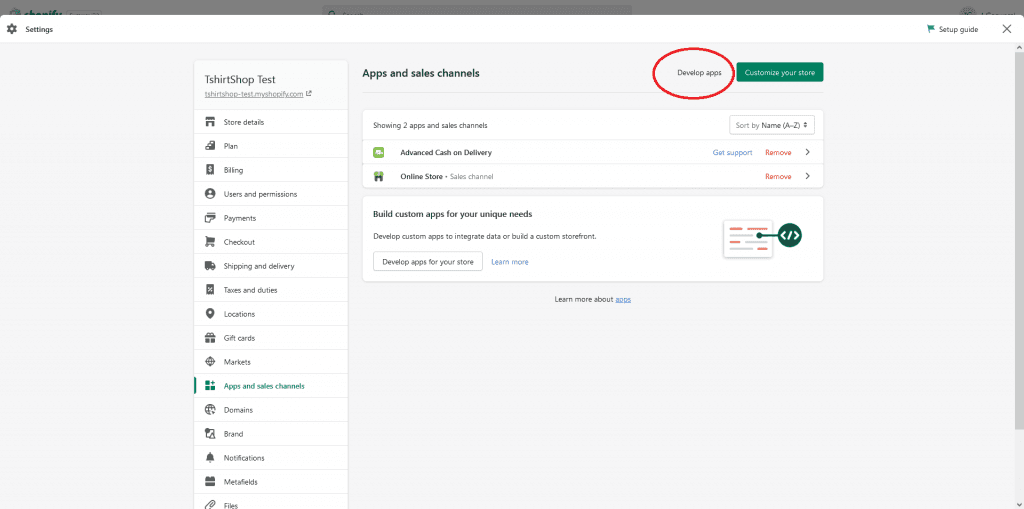
- Sign in to your Shopify Store. Navigate to Settings → Apps and sales channels → Develop apps.
- Click Create an app.
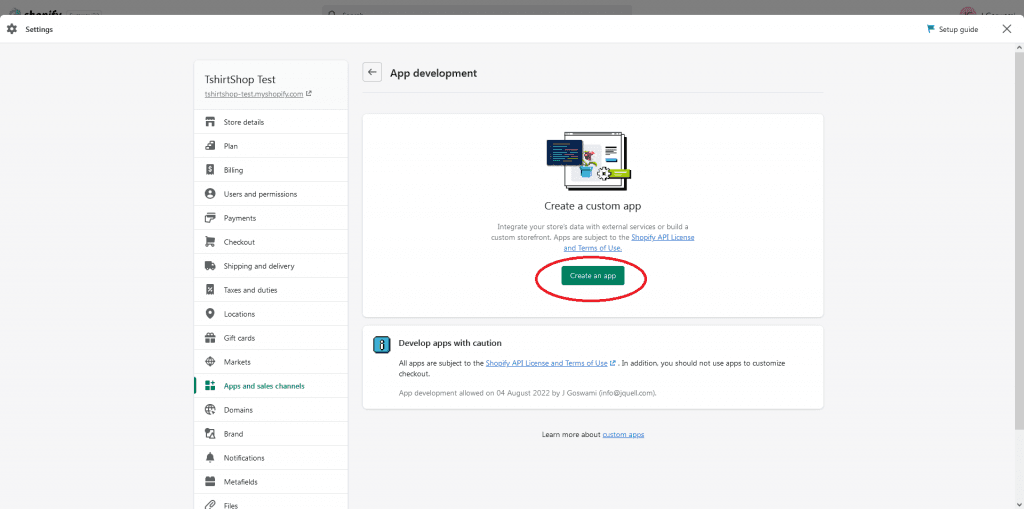
- Name your app and assign an app developer and click Create an app.
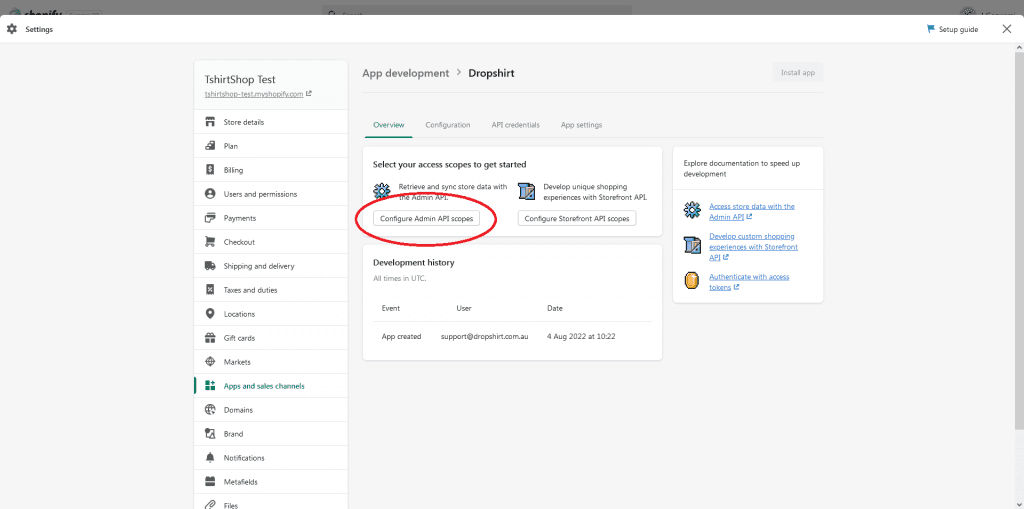
Now on the app overview screen, click Configure Admin API scopes.
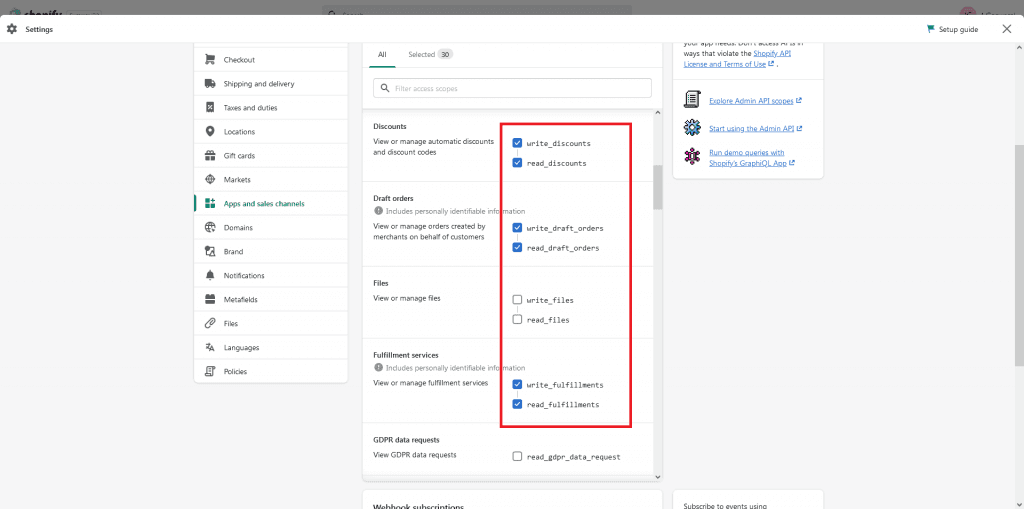
Select the read permissions of all the necessary scopes to get your audit events for products, orders, customers, inventory, etc. Click Save.
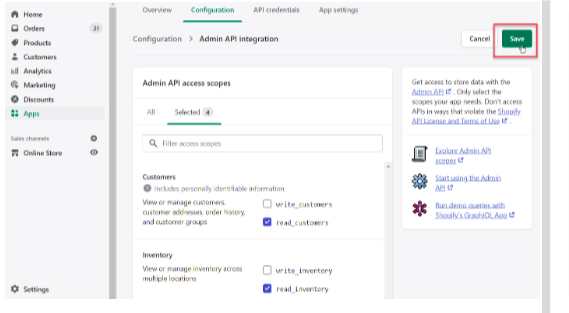
- Go to the API credentials tab and click Install app. After the installation, you should now see your Admin API access token on the screen.
Warning Copy and store your Admin API access token immediately — Shopify displays it only once. If you miss it, you will need to uninstall and reinstall the app to generate a new token.
Configure the Shopify Connector in Bloo
All connector configuration is done from the Datasource page in Bloo.
| Field Name | Description |
|---|---|
| Connector Name | Enter a name for the connector. |
| Shopify URL | Enter the URL of your Shopify Store. |
| Access Token | Enter the token generated above. |
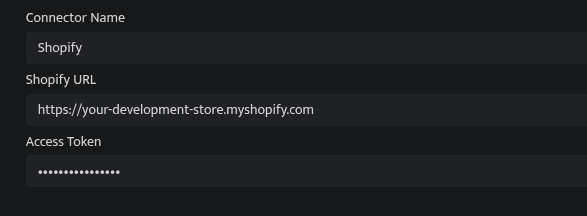
Click Save after entering all the required details.
Bloo will validate the configuration automatically.
Navigate to Collection Status and confirm the connector is listed with a status of Active. This signifies the connector is configured successfully and data is ready to ingest.
| ✓ When the connector appears in Collection Status with status Active, it is configured successfully and data is ready to ingest. |
Related Links
Bloo — Collection Status | Bloo — Connector Validation | Shopify — Admin REST API Events | Shopify — Custom Apps | Bloo — Troubleshooting Connector Validations
Related
Was this page helpful?