
Connectors
Dropbox Connector
Connectors in Bloo
Updated 2026-08-17
Overview
Dropbox integrates with Bloo using the Dropbox Connector. The connector utilizes the pull method to retrieve Dropbox logs through the Dropbox Business API.
Prerequisites
- Dropbox Business Account.
- Client ID
- Client Secret
- Authorization Code (by granting access via link)
Step 1 — Create a Dropbox App and Obtain Credentials
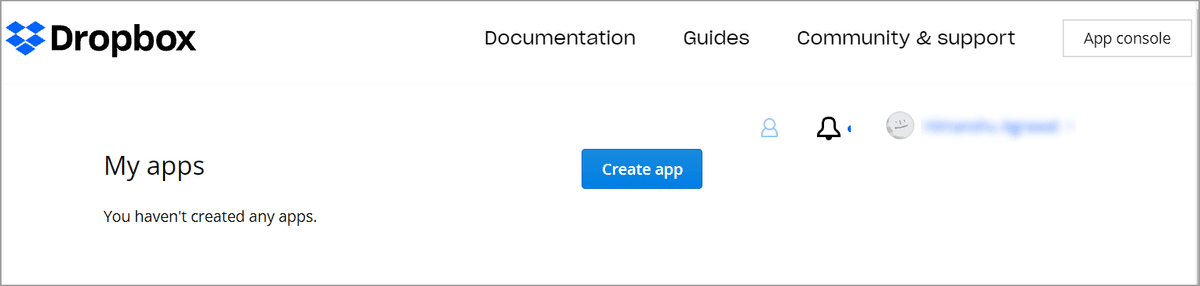
Log in to the Dropbox App Console.
Click Create app.
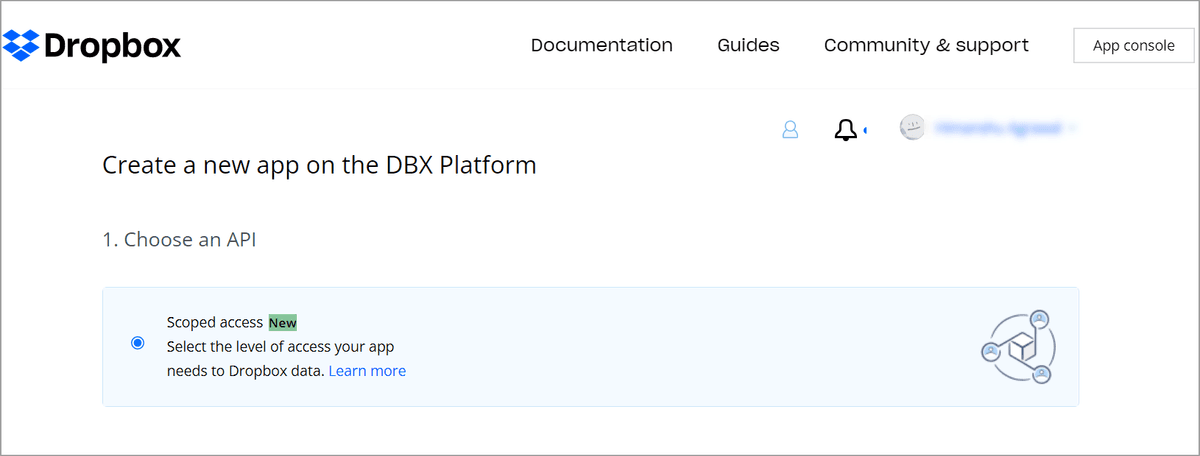
- On the Create a new app on the DBX Platform page, fill out the fields:
Choose an API: Select Scoped Access
Choose the type of access you need: Select Full Dropbox
Name your app: Enter a descriptive name for your application, then click Create app.
- When redirected to the app Settings panel, navigate to the Permissions tab at the top of the page.
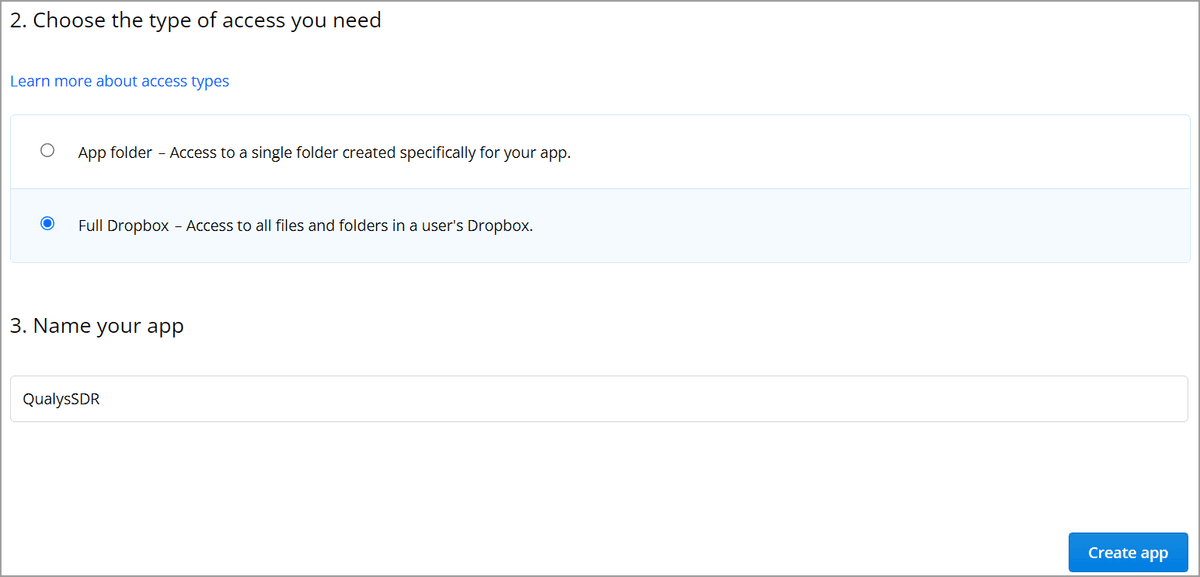
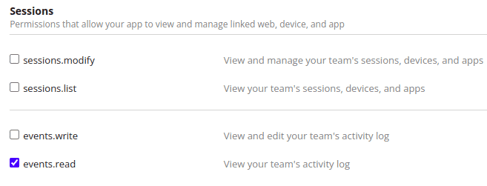
- Under the Team Scopes section, check the boxes next to team_data.member and events.read.
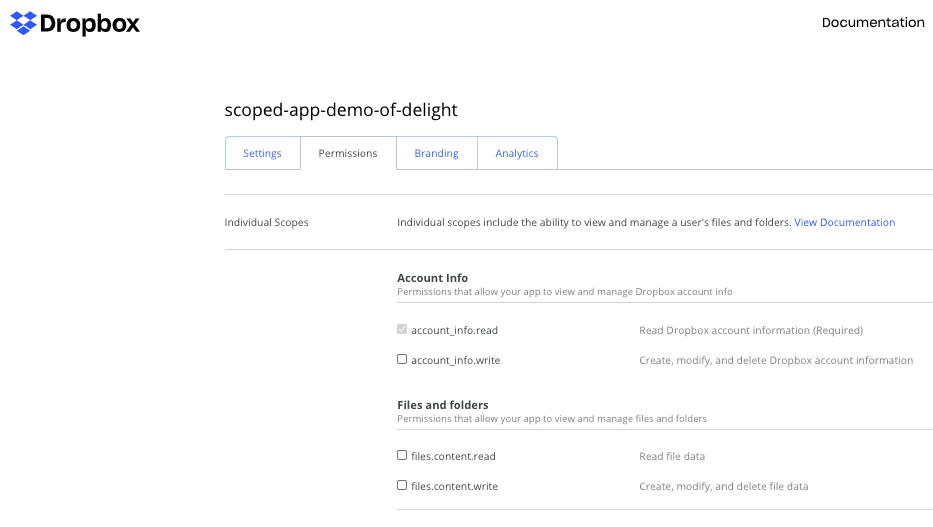
- Click Submit in the bar at the bottom of the page.
- Navigate back to the Settings tab at the top of the page.

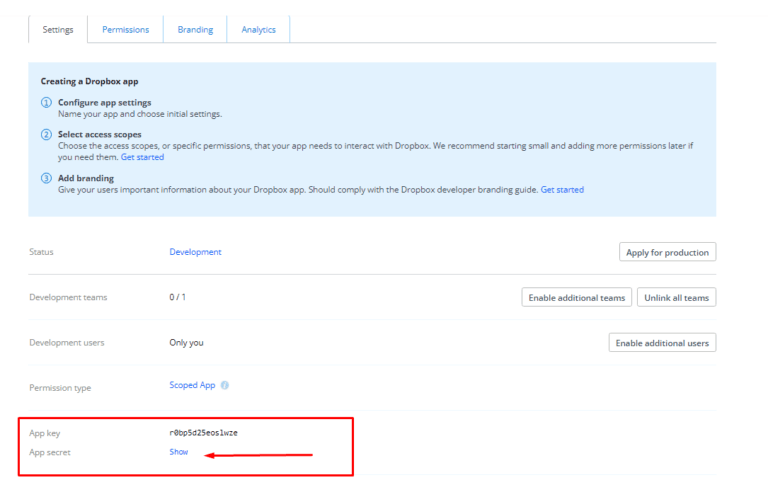
- On the Settings tab, copy the App Key and App Secret values and store them in a secure location. You will need these in the next steps.
Step 2 — Configure the Dropbox Connector in Bloo
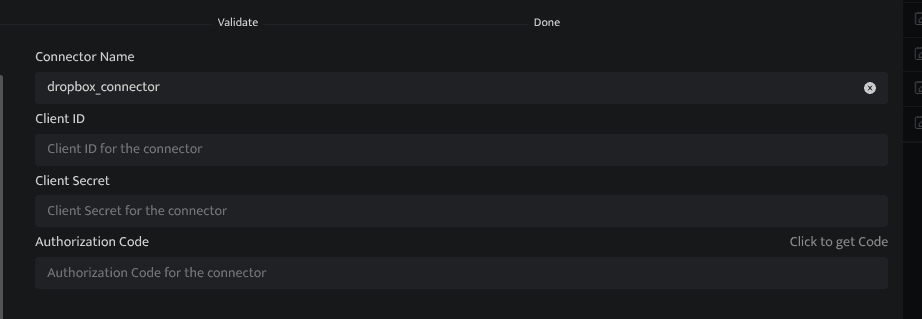
All connector configuration is done from the Datasource page in Bloo.
| Field | Description |
|---|---|
| Connector Name | Enter a name for the connector. |
| Client ID | Enter the App Key copied earlier. |
| Client Secret | Enter the App Secret copied earlier. |
| Authorization Code | To get this code, follow the steps below. |
Step 3 — Get the Authorization Code
- Enter the Client ID and Client Secret in the Bloo connector form. The Click to get Code link will now be enabled. Click it.
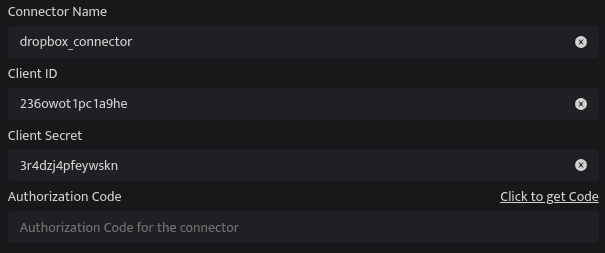
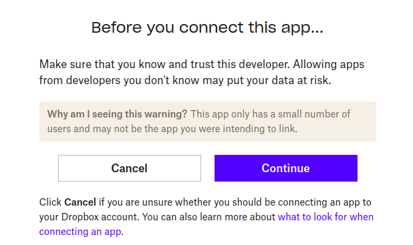
- You will be redirected to the Dropbox permission page. Click Continue.
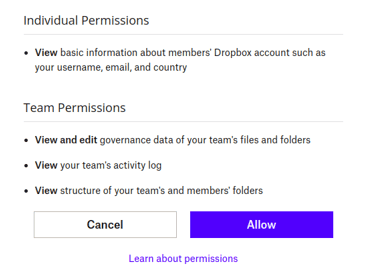
- Allow the app to pull logs from Dropbox on your behalf.
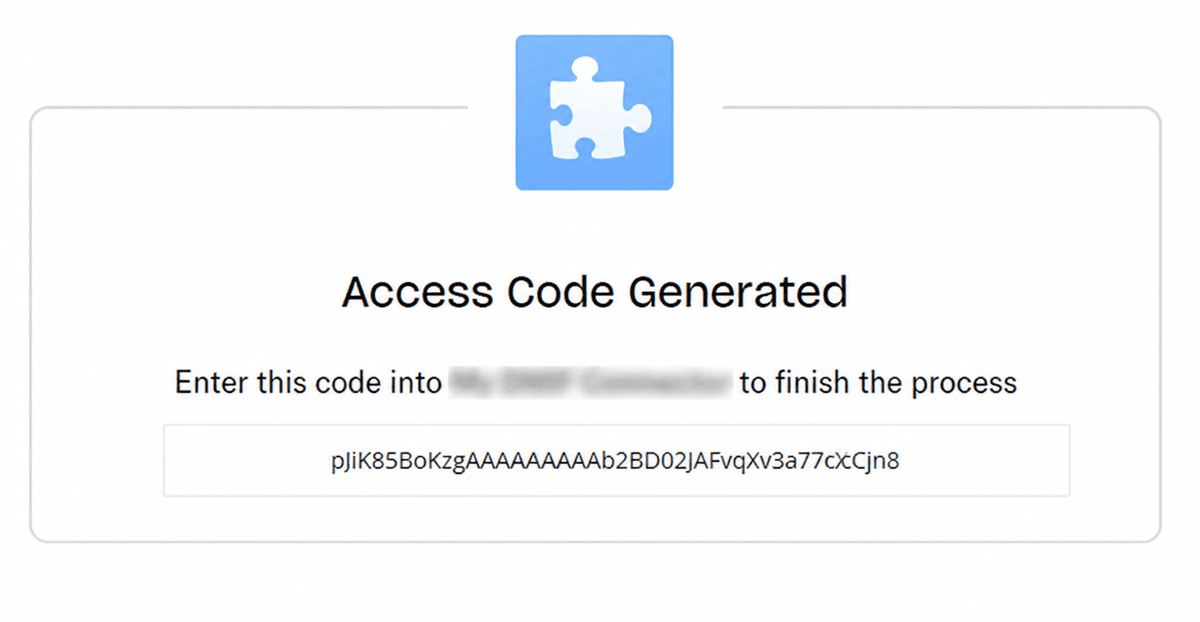
- After allowing the required permissions, you will receive an Authorization Code.
- Copy the Authorization Code and paste it into the Bloo connector form.
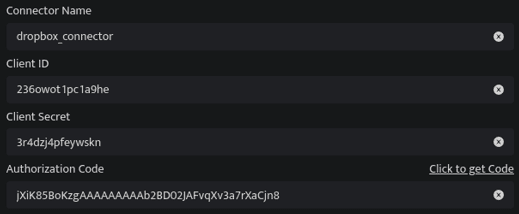
Click Save after entering all the required details.
Bloo will validate the configuration automatically.
Navigate to Collection Status and confirm the connector is listed with a status of Active.
Confirmed When the connector appears in Collection Status with status Active, it is configured successfully and data is ready to ingest.
Optional Configuration
The following optional configurations can be done based on requirements.
| Field | Description |
|---|---|
| Log Level | Set the log level. 0: DEBUG 1: INFO 4: WARNING 5: ERROR 6: CRITICAL |
| Number of Threads | Number of threads to publish logs. |
| Size limit | Size limit for creating bunching of logs to be sent. |
| Wait Time | Max time to wait for log bunching in seconds. |
Related Links
Bloo — Collection Status | Bloo — Connector Validation | Dropbox App Console
Related
Was this page helpful?