
Connectors
Jira Connector
Connectors in Bloo
Updated 2026-08-17
Overview
Jira Connector uses the pull method to fetch audit logs using the Jira Cloud platform REST API. All Jira products are on free plans. Audit logs are available when at least one Jira product is on a paid plan. Bloo can collect, normalize, and monitor Jira logs to help you identify abnormal activity within your Jira account in real time.
Prerequisites
- Need at least one paid plan of Jira service.
- API Token
- Organization Name
- Jira Username or Email ID
Generate an API Token
Note Required permissions: While logged in to Jira as a user with the Admin role, go to the Jira roles page and verify that your Jira user account has the following required permissions:
- Administer Jira: Granted by the Jira Administrator's global permission.
- OAuth 2.0 scopes required:
- Classic (Recommended):
manage:jira-configuration- Granular:
read:audit-log:jira,read:user:jira
Sign in to your Atlassian Jira account at: https://id.atlassian.com/manage-profile/security/api-tokens
Click Create API token.
Enter a memorable and concise Label for your token from the dialog that appears and click Create.
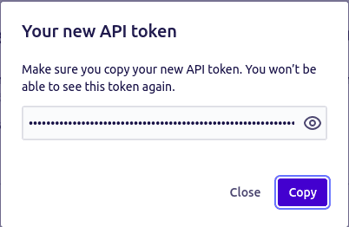
Click the Copy button, then paste the token to your script or elsewhere to save.
Warning For security reasons, it is not possible to view the token after closing the creation dialog. Store the token securely, just as you would any password. By default, API tokens expire after one year. You can set an expiry between 1 and 365 days when creating the token. When your token expires, generate a new one and update the connector configuration in Bloo.
Get Organization Name
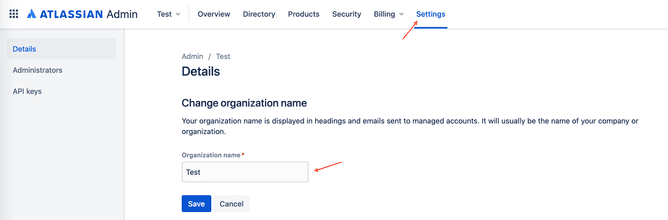
Go to Atlassian Administration and select your organization if you have more than one.
In the left sidebar, select Settings then Details.
Find your Organization Name and copy it.
Configure the Jira Connector in Bloo
All connector configuration is done from the Datasource page in Bloo.
| Field | Description |
|---|---|
| Connector Name | Enter a name for the connector. |
| User Name or Email ID | Enter User Name or Email ID. |
| API Key | Enter the API Key of Jira. |
| Organization | Enter organization name of Jira. |
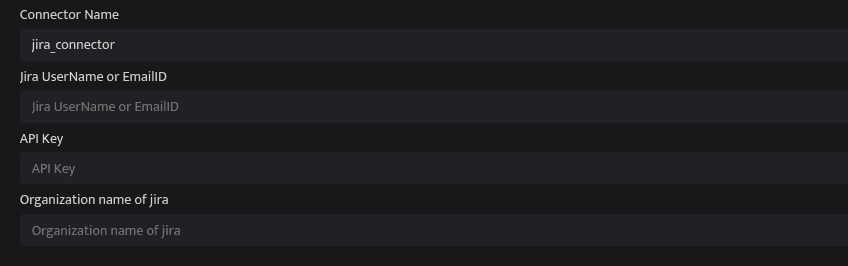
Click Save after entering all the required details.
Bloo will validate the configuration automatically.
Navigate to Collection Status and confirm the connector is listed with a status of Active. This signifies the connector is configured successfully and data is ready to ingest.
Confirmed When the connector appears in Collection Status with status Active, it is configured successfully and data is ready to ingest.
Related Links
Bloo — Collection Status | Bloo — Connector Validation | Atlassian — Manage API tokens | Atlassian Administration | Bloo — Troubleshooting Connector Validations
Related
Was this page helpful?