
Connectors
GitHub Connector
Connectors in Bloo
Updated 2026-08-17
Overview
GitHub integrates with Bloo using the GitHub Connector. The connector uses the pull method and the GitHub REST APIs to fetch audit logs from GitHub.
Step 1 — Generate an API Token
Sign in to your GitHub account: github.com/login
In the upper-right corner of any page, click your profile photo, then click Settings.
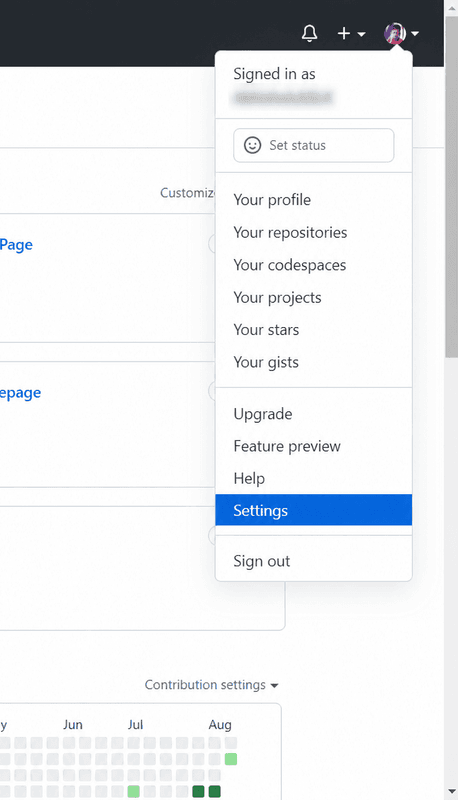
- In the left sidebar, click Developer settings.
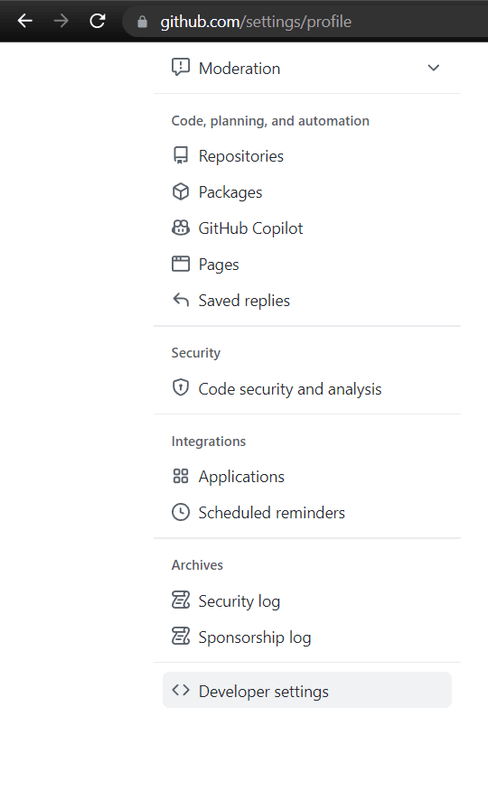
- In the left sidebar, click Personal access tokens, then click Tokens (classic).
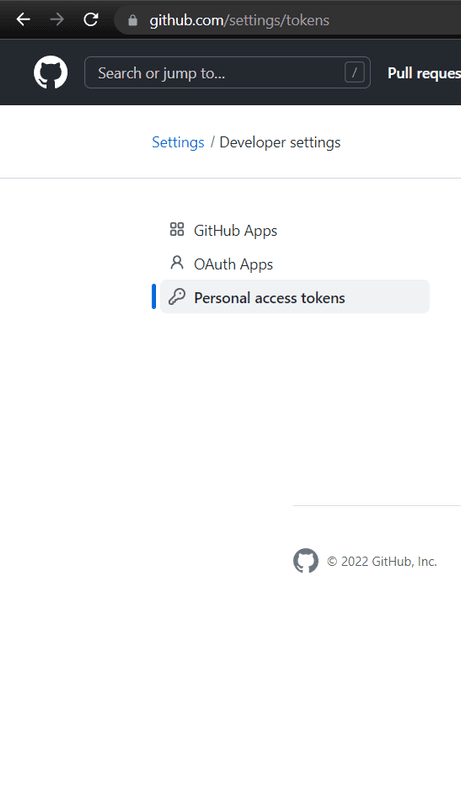
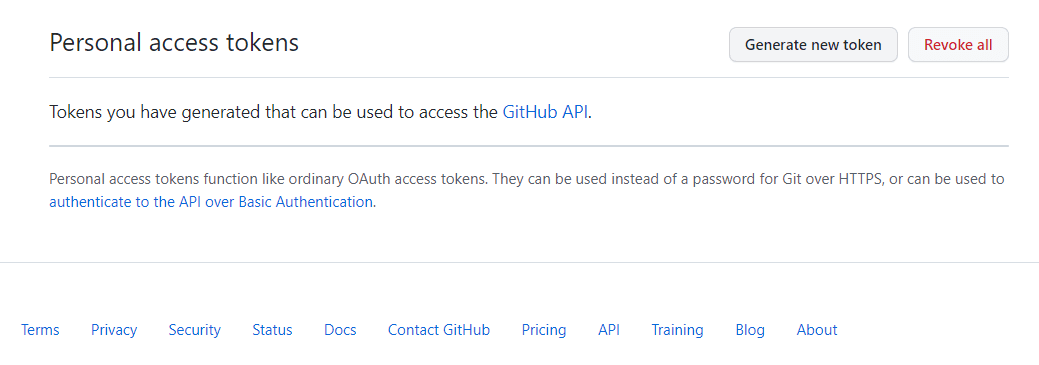
- Click Generate new token, then select Generate new token (classic).
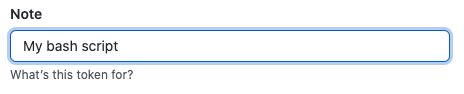
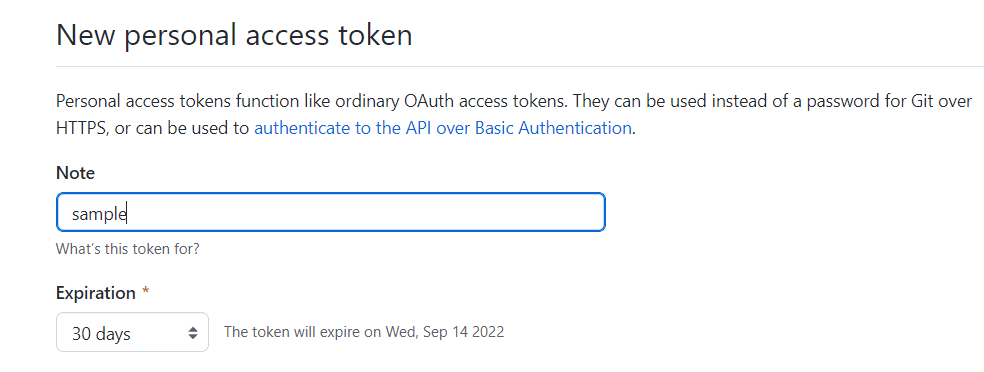
- Give your token a descriptive name.
- Set an expiration date for the token.
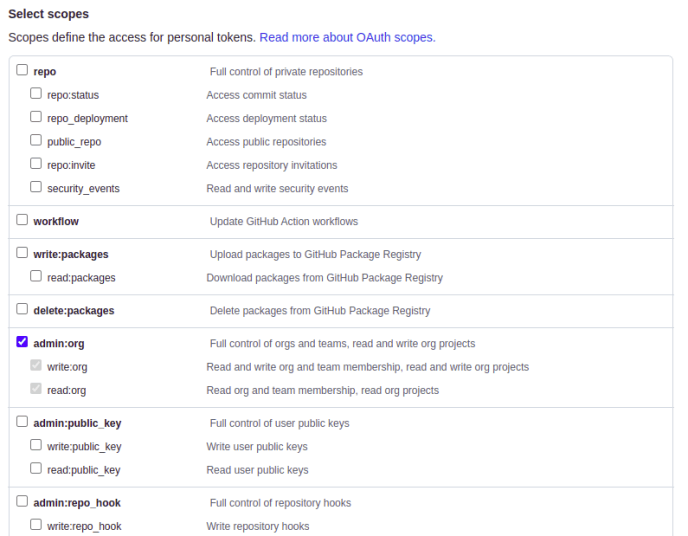
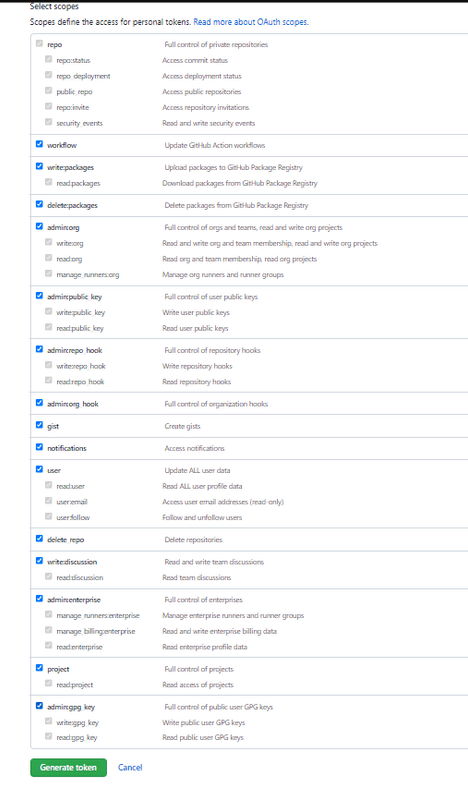
- Select the admin:org scope permission for the API token.
- Click Generate token.
Step 2 — Get the Enterprise Name
In the top right corner of your GitHub Enterprise Server, click your profile photo, then click Your organizations.
The enterprise name will be mentioned on the left-hand side.

Step 3 — Configure the GitHub Connector in Bloo
All connector configuration is done from the Datasource page in Bloo.
| Field | Description |
|---|---|
| Connector Name | Enter a name for the connector. |
| API Token | Enter the API token generated in Step 1. |
| Organization | Enter the organization name obtained in Step 2. |
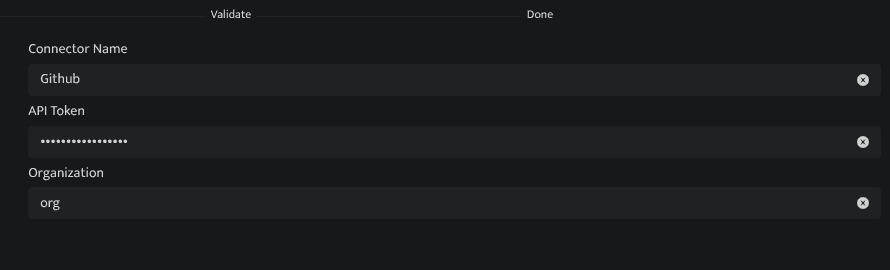
Click Save after entering all the required details.
Bloo will validate the configuration automatically.
Navigate to Collection Status and confirm the connector is listed with a status of Active. This signifies the connector is configured successfully and data is ready to ingest.
Confirmed When the connector appears in Collection Status with status Active, it is configured successfully and data is ready to ingest.
Related Links
Bloo — Collection Status | Bloo — Connector Validation | GitHub — Managing personal access tokens
Related
Was this page helpful?